How to Apply BIAB Nails at Home
Nail care is a crucial part of personal grooming. It's not just about looking good, but also about maintaining the health of your nails.
One popular trend in nail care is the use of BIAB nails. BIAB, or Builder In A Bottle, is a type of gel that strengthens and builds your nails.
This guide will walk you through the process of applying BIAB nails at home. It's a comprehensive, step-by-step guide designed to help you achieve a professional-looking manicure without stepping foot in a salon.
Whether you're a DIY nail care enthusiast, looking for cost-effective alternatives to salon manicures, or trying out BIAB nails for the first time, this guide is for you.
We'll cover everything from nail preparation to the application process, and even aftercare and maintenance.
So, let's dive in and learn how to apply BIAB nails at home.
Understanding BIAB Nails
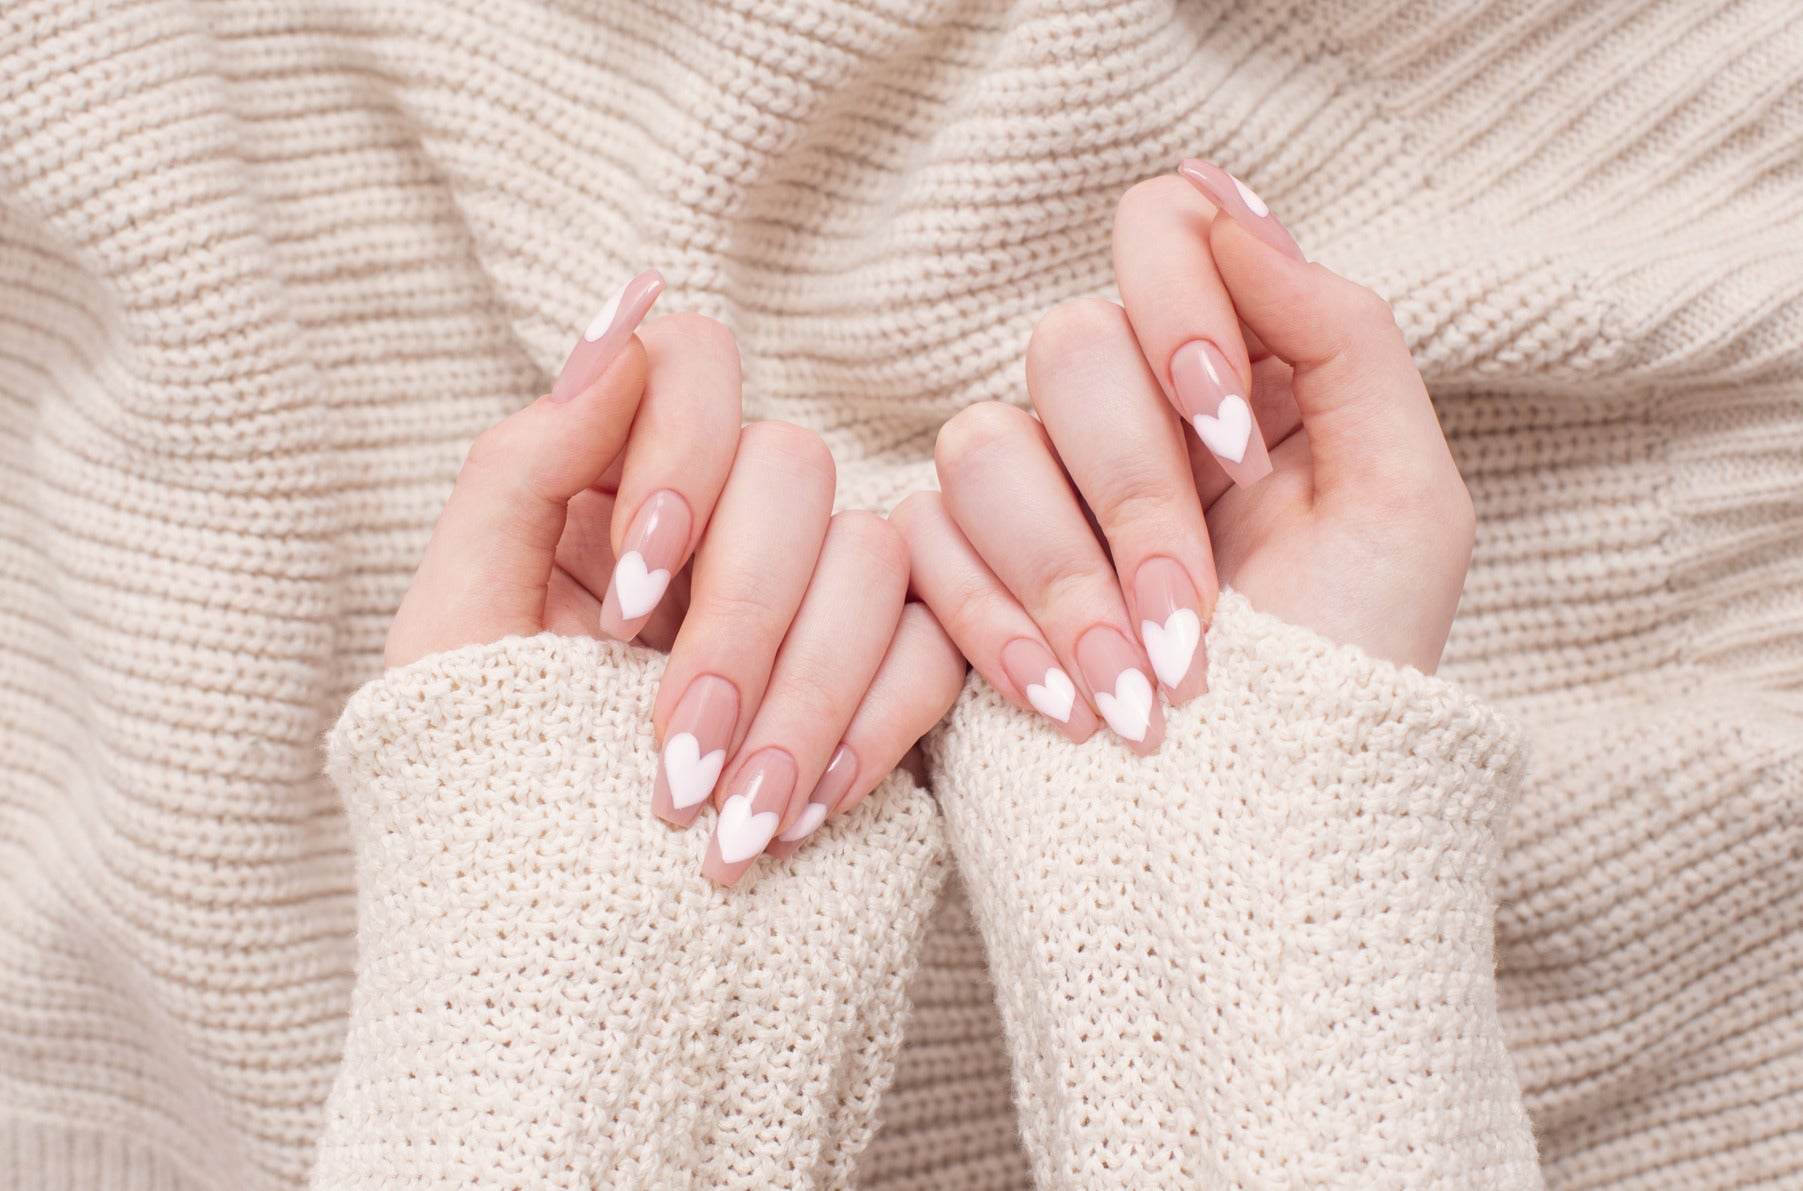
BIAB nails, or Builder In A Bottle, have revolutionised the nail care industry. This innovative gel product acts as a strengthener and builder, offering a more durable and long-lasting manicure solution. Unlike traditional gel or acrylic nails, BIAB is flexible and user-friendly, making it a popular choice among those who prefer DIY manicures at home.
Using BIAB can help protect your natural nails. It creates a strong layer that prevents breakage and splitting, while also allowing your nails to grow underneath. The versatility of BIAB is another advantage, enabling nail enthusiasts to either extend the length of their nails or simply strengthen them as an overlay on the natural surface.
Achieving salon-quality nails at home is not only possible with BIAB but also convenient. This product suits various nail designs, from the simplest to the most elaborate. With the right techniques and tools, BIAB application becomes an enjoyable part of your nail care routine.
What is BIAB?
BIAB, short for Builder In A Bottle, is a specialised gel product that comes in a bottle for easy application. It functions as a nail strengthener and builder, offering enhanced durability and flexibility. Unlike traditional nail enhancements, BIAB does not require separate liquid and powder components, simplifying the application process.
BIAB is self-levelling, which means it naturally smooths out on the nail surface to create a seamless finish. The product's flexibility helps prevent chipping and lifting, making it an excellent choice for long-lasting manicures.
Benefits of BIAB Manicures
BIAB nails offer several advantages for those who want beautiful, strong nails without frequent salon visits. Here are some key benefits of opting for a BIAB manicure:
-
Strength and Durability: BIAB strengthens natural nails, reducing breakage and peeling.
-
Versatility: Ideal for both extending nail length and serving as an overlay for added strength.
-
Longevity: With proper care, a BIAB manicure can last up to four weeks.
The gel acts as a protective layer over your natural nails, enhancing their strength and durability. Thanks to its self-levelling nature, BIAB provides a smooth, professional finish. This user-friendly product can accommodate beginners and experts alike, making it a staple in home manicure kits. Whether your aim is to grow out your natural nails or simply enjoy a salon-quality look, BIAB nails make it possible.
Preparing Your Nails for BIAB
Proper preparation is the foundation of a successful BIAB manicure. Investing time in getting your nails ready ensures longevity and prevents lifting. The process involves several key steps, each critical for the application to adhere well.
Focus on cleaning, shaping, and conditioning your nails before applying BIAB. These steps will help create a smooth surface for better adhesion. A well-prepared nail acts as a clean canvas, making the application process smooth and efficient.
Nail Prep Essentials
When preparing your nails, you must gather the right tools. A nail file, buffer, cuticle stick, and cuticle remover are key for success. Don't forget a gentle nail cleanser to wipe away dust and oils.
Prepping also includes a nail dehydrator or primer, essential for oily nails, enhancing adhesion. These products help create the ideal base for the BIAB application. Ensure you sanitise all tools to maintain hygiene.
Cleaning and Buffing
Start by cleaning your nails thoroughly to remove any residue or oils. Use a gentle nail cleanser that will not strip your nails of their natural oils completely. A lint-free wipe is perfect for this task.
Buffing your nails is the next essential step. Be gentle to avoid thinning the natural nail, which can lead to damage. A smooth surface allows the BIAB layer to adhere better, making the manicure more durable.
Finally, buff your nails to eliminate any ridges or uneven spots. A fine-grit buffer helps in achieving a uniform texture. This step is crucial to create an even canvas for the BIAB application, leading to a flawless finish.
The BIAB Application Process
The BIAB application process is straightforward, but attention to detail is essential. Follow each step precisely for the best results. Preparation aside, ensuring you apply each layer correctly makes a significant difference.
Begin by organising your workspace to have all tools within reach. This preparation can prevent any interruption during the process. A well-lit and comfortable setting is also crucial for precision.
- Apply the Base Coat: Provides the foundation for durability.
- Layering BIAB: Builds strength and thickness.
- Cure Each Layer: Essential for setting the gel and achieving a lasting finish.
Each stage in the BIAB process comes with its nuances, which we'll delve into next.
Applying the Base Coat
Start with a thin layer of base coat over each nail. This layer acts as a protective barrier for your natural nails.
Make sure to cover the entire nail surface, including the edges. This practice helps prevent any lifting later on.
Let the base coat dry completely as per the product instructions before moving to the next step.
Layering BIAB
Apply a thin layer of BIAB over the cured base coat. The first layer should be as smooth and even as possible.
Feel free to build additional layers for more strength and thickness. After each layer, check for evenness in application.
Remember, thinner layers cure better, so patience is key. Avoid rushing the process to ensure a professional finish.
Curing with an LED/UV Lamp
Each layer of BIAB requires curing under an LED or UV lamp. The light ensures that the BIAB sets firmly.
Check the curing time recommended on your BIAB product. It's critical to avoid under-curing as it may affect durability.
Ensure to cap the free edge of each nail during the curing process. This technique helps in sealing the layer, protecting against chipping or peeling.
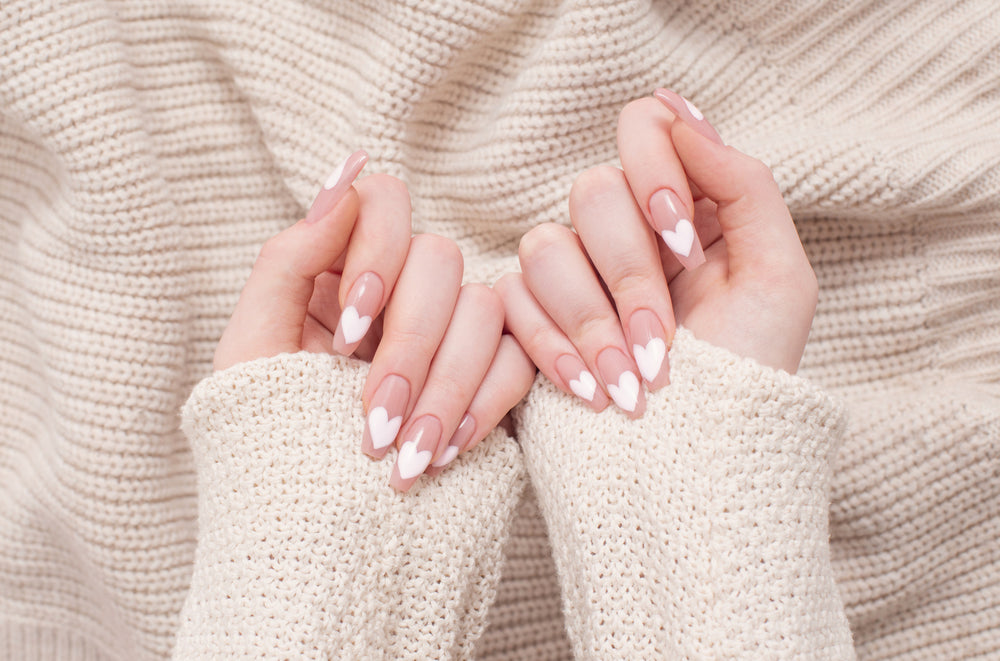
Shaping and Finishing Touches
Once your BIAB layers have cured properly, it's time to focus on shaping your nails. This step gives your manicure a refined, salon-finished look. Aim for smooth edges and a consistent shape.
Take your time shaping for a neat finish. Precision in this step enhances the overall appearance of your nails. Use quality tools to avoid splitting or cracking.
A fine grit nail file is ideal for this task. It helps achieve a smooth contour without damaging the BIAB layers. Ensure you file in one direction to prevent weakening the structure.
After shaping, the top coat provides the final touch. This layer adds a glossy shine or a matte finish depending on your preference. Besides aesthetics, it also seals the BIAB layers, enhancing durability.
Finish by ensuring all nails have an even coat, particularly around the edges. A thorough top coat application ensures a long-lasting, stunning manicure.
Filing and Shaping
Begin by selecting an appropriate nail file or e-file. Aim to define the contour without compromising the BIAB layers. Choose a file that is neither too coarse nor too fine to handle the material effectively.
Shape your nails in long, even strokes for the best results. Concentrate on achieving a consistent shape across all nails. Symmetry is key to a polished look.
Remember to file gently to maintain the integrity of both the BIAB and your natural nails. Avoid excessive pressure which might cause breakage or peeling.
Applying the Top Coat
Apply a thin layer of top coat over each nail. This step is crucial for locking in all previous layers. Decide on a glossy or matte finish to suit your style.
Ensure even coverage from the cuticle to the tip. Proper application helps prevent chips and extends the life of your manicure.
Complete the process by sealing the edges. This technique provides extra protection against wear and tear, keeping your nails pristine for weeks.
Aftercare and Maintenance
Proper aftercare is key to maintaining the beauty of your BIAB nails. With the right approach, your manicure can last up to four weeks. Regular maintenance preserves both aesthetics and nail health.
To keep your nails in top condition, a consistent aftercare routine is essential. This involves occasional filling, moisturising, and careful monitoring for any issues. Healthy nails are the foundation of a lasting BIAB manicure.
BIAB nails require some upkeep as your natural nails grow. Regular infilling helps maintain a smooth appearance. It also strengthens the bond between your natural nails and the BIAB layers.
Consider using nourishing oils and creams daily. These products keep your nails and cuticles healthy. Hydration prevents dryness and flaking, which could compromise the longevity of your manicure.
A checklist for BIAB nail care includes:
- Routine filling sessions
- Daily moisturising with cuticle oil
- Monitoring for lifting or cracks
- Gentle handling of nails
Regular Filling and Hydration
As your natural nails grow, the gap at the nail bed increases. Fill these gaps with more BIAB to maintain a seamless look. Infill sessions every two to three weeks are a good practice.
During this time, focus on hydration. Moisturise daily to keep your nails flexible. This prevents cracking or splitting, which can ruin the look of your manicure.
Choose a high-quality cuticle oil for daily use. This habit supports healthy nail growth and keeps the surrounding skin supple. Remember, well-cared nails hold the BIAB layers better.
Safe Removal of BIAB Nails
Removing BIAB nails requires care to protect your natural nails. A gentle approach is best to avoid unnecessary damage. Soaking off with acetone is a common and effective method.
Begin by buffing the top layer of your BIAB manicure. This step helps the acetone penetrate more easily. Wrap nails in acetone-soaked cotton and cover with foil for about 15 minutes.
After soaking, gently push off the softened material using a wooden stick. Be patient and avoid force to minimise damage. Finish by applying nourishing oil to restore moisture to your nails and cuticles.
Tips for a Successful BIAB Manicure at Home
Achieving a salon-quality BIAB manicure at home requires attention to detail. By following a few essential tips, you can elevate your BIAB application. With practice, you'll perfect the process.
Start by choosing a well-lit, clean workspace. This ensures better visibility and reduces the chance of errors. Organise your tools before you begin to streamline the application.
Follow the manufacturer’s instructions for each product carefully. Proper adherence to guidelines improves the outcome. Check curing times and recommended lamp wattage to avoid mishaps.
Create an ideal environment for your manicure by limiting distractions. This helps you focus on each step for precision. A step-by-step checklist might be useful.
Consider these additional tips for success:
- Use thin layers to prevent heat spikes
- Cap the free edges to prevent lifting
- Keep bottles tightly closed when not in use
- Regularly clean and sanitise tools
- Avoid over-filing natural nails
Common Mistakes to Avoid
Starting out with BIAB can lead to common pitfalls. One frequent mistake is skipping nail prep, which affects adhesion. Ensure nails are clean, dry, and free from oils.
Using thick layers is another trap. It causes improper curing and potential lifting. Apply thin, even coats to avoid this issue.
Lastly, avoid skin contact. It can lead to allergic reactions or weakened bonds. Take your time for precise application.
Advanced BIAB Techniques
Once you've mastered the basics, try advanced techniques. Experiment with nail art designs using BIAB. The flexible formula allows for creative expression.
Practice using a brush to apply BIAB around cuticle areas. This helps ensure a smooth finish. Precision here enhances the overall look.
BIAB can also repair broken nails. Create a "silk wrap" by layering BIAB over a nail break. This technique strengthens and blends seamlessly with the natural nail.